Adding a new course takes roughly 5-10 minutes, but all of the course information you enter is saved in the cloud so a new course only needs to be added once. After it is saved, it is available for you and all the other Golf Target GPS users.
Watch the short how-to video on adding a new course.
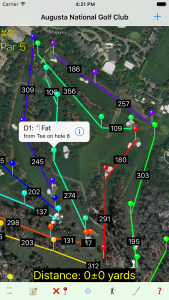
To add a new course, tap the blue ➕ button at the top right corner of the Map screen (the same button you would tap to start a new round).
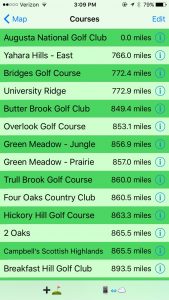
At the bottom of the Courses screen tap the + course (➕⛳️) button to add the new course.
The Add Course screen has the typical name and address fields you would find on scorecard. The only field really required is the course name, but the other fields are useful information and a future update of the app will probably provide buttons to call the course or provide driving directions.
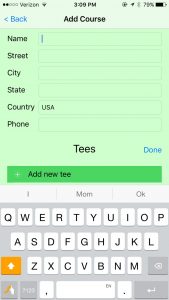
Below the course name and address information is a table of tee boxes. Tap the Add new tee button to add the information about the set of tees you plan on using.
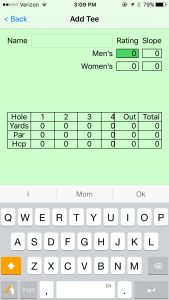
Names for the tee boxes are usually ‘Blue’, ‘White’, ‘Red’. A good naming strategy is to enter the name used by the course found on the actual scorecard. The keyboard is only needed for entering the name. Tapping return after entering the name will hide the keyboard. Other information is entered using the intelligent keypad. The field currently being entered is highlighted in dark green. The arrow buttons let you navigate around the screen. Alternately, you can tap any field to change focus to it.
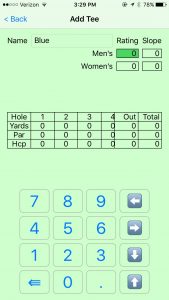
The keypad automatically moves to the next field when you have entered the information about the current field (##.# for rating, ### for slope and yards, 3-6 for pars, ## for handicap). The backspace button (⇚ below the 1 key) lets you delete the last digit you entered. To enter less than 100 yards for a hole, enter the number of yards and tap the right arrow (➡️) to move to the next field. Likewise, the #1 handicap hole requires you to tap the right arrow after entering the 1 (this makes it faster to enter handicap holes 10-18). Handicap digits 2-9 automatically move to the next hole.
Tap <Back to return to the Add Course screen when you have finished entering the tee information. You can add additional tee boxes or tap <Back again to save the course and return to the Courses screen.


